
For students who wish to register for courses online using the Student Planning Module in their My PCCC Portal.
Step-by-step guide
For online course registration:
-
We strongly recommend you meet with an advisor before registering for classes. The Center for Student Success is available online.
-
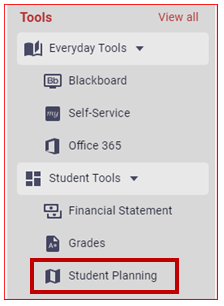
Click on "Student Planning", located under the Student Tools menu on the left-hand side.
-
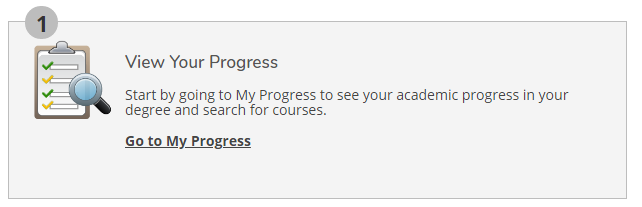
Click on Go to My Progress (This is your Degree Audit).
-
Review your Degree Audit for the correct major.
-
The courses you have completed are in Green
-
Courses you need to complete are red. (Be sure to read the red directions above each sub-heading (for example, you may need to take only 1 of 4)
-
-
Click on the title of a course that you need.
-
Click Add Course to Plan
-
Click on the drop-down menu that says Select a Term and choose the semester you need (ex: Spring 2021 15-Week)
-
Return to My Progress to repeat the process and add additional courses to your plan.
-
Once you have added the course(s) to your plan, go to the top of the screen and click on the Student Planning drop-down menu, and select Plan and Schedule.
-
Your course/courses are on the left-hand side. To select days and time for your courses, click on View Other Sections
-
Your calendar will show available classes in white and filled/closed classes in RED.
-
-
Find a section that meets your needs and click Add Section. The section will change color to YELLOW once you have planned it.
-
You can now go to the upper right corner and click Register Now to register for all classes at once, or you can register for one class at a time by clicking Register underneath the course you planned.
-
Once you are registered, your courses will change from YELLOW to GREEN. A message will appear under the course that reads Registered, but not yet started.
-
Click the Bill and Schedule tab to view your bill and schedule.
Please contact the Center for Student Success for additional assistance.
Related articles